A Quick and Easy Sensory Checklist You Can Edit for Your Child’s Needs
Mornings and school days can feel overwhelming when you’re juggling schedules, meltdowns, and sensory needs. That’s why in this post, we’re creating a simple, editable sensory checklist designed for real families like ours. It’s quick to set up, easy to tweak as your child’s needs change, and built to highlight their strengths. Most importantly, it helps us stay calm, consistent, and better prepared for each school day.
What We’ll Need
Map Child’s Sensory Needs First
Every child’s sensory world is different — so the first step is asking: which moments matter most — calming, alerting, or both?- Look at the day as a whole. When are the tricky transitions? Mornings, bus rides, noisy lunchrooms, after-school wind-down, or bedtime?
- Ask simple questions. “Do big squeezes help?” or “What noises bother you?” Even if they don’t always answer, observing tells us a lot.
- Notice patterns for a week. Write down triggers (like bright fluorescent lights or loud cafeteria chatter) and supports (like chewing crunchy snacks, using a fidget, or taking deep breaths).
- Keep it simple. Group into 3–5 categories to avoid an overwhelming checklist. Examples: Calm, Focus, Alert.
- Write in clear, concrete actions. Instead of “relax,” write “3 deep breaths” or “squeeze ball for 30 seconds.”
👉 Real-life example: When our child gets off the bus, we ask, “Do you need an iPad or a 1-minute walk?” and jot down which works. This step gives us priorities so the checklist becomes practical — not a giant to-do list.


Pick an Editable Template That Fits The Routine
Why Google Slides or Canva will save us from messy photocopies (and stress).The correct format keeps us from drowning in messy paper piles. Editable is the goal — less stress, more flexibility.
- Choose a platform.
- Google Slides/Docs → easy sharing and real-time edits. Most schools will use Google Slides.
- Canva → polished visuals and kid-friendly icons.
- Editable PDFs → simple check-off and print-ready.
- Pick a layout that matches your flow.
- Horizontal rows for morning / after-school / evening.
- Vertical lists for step-by-step daily routines.
- Weekly board for an overview at a glance.
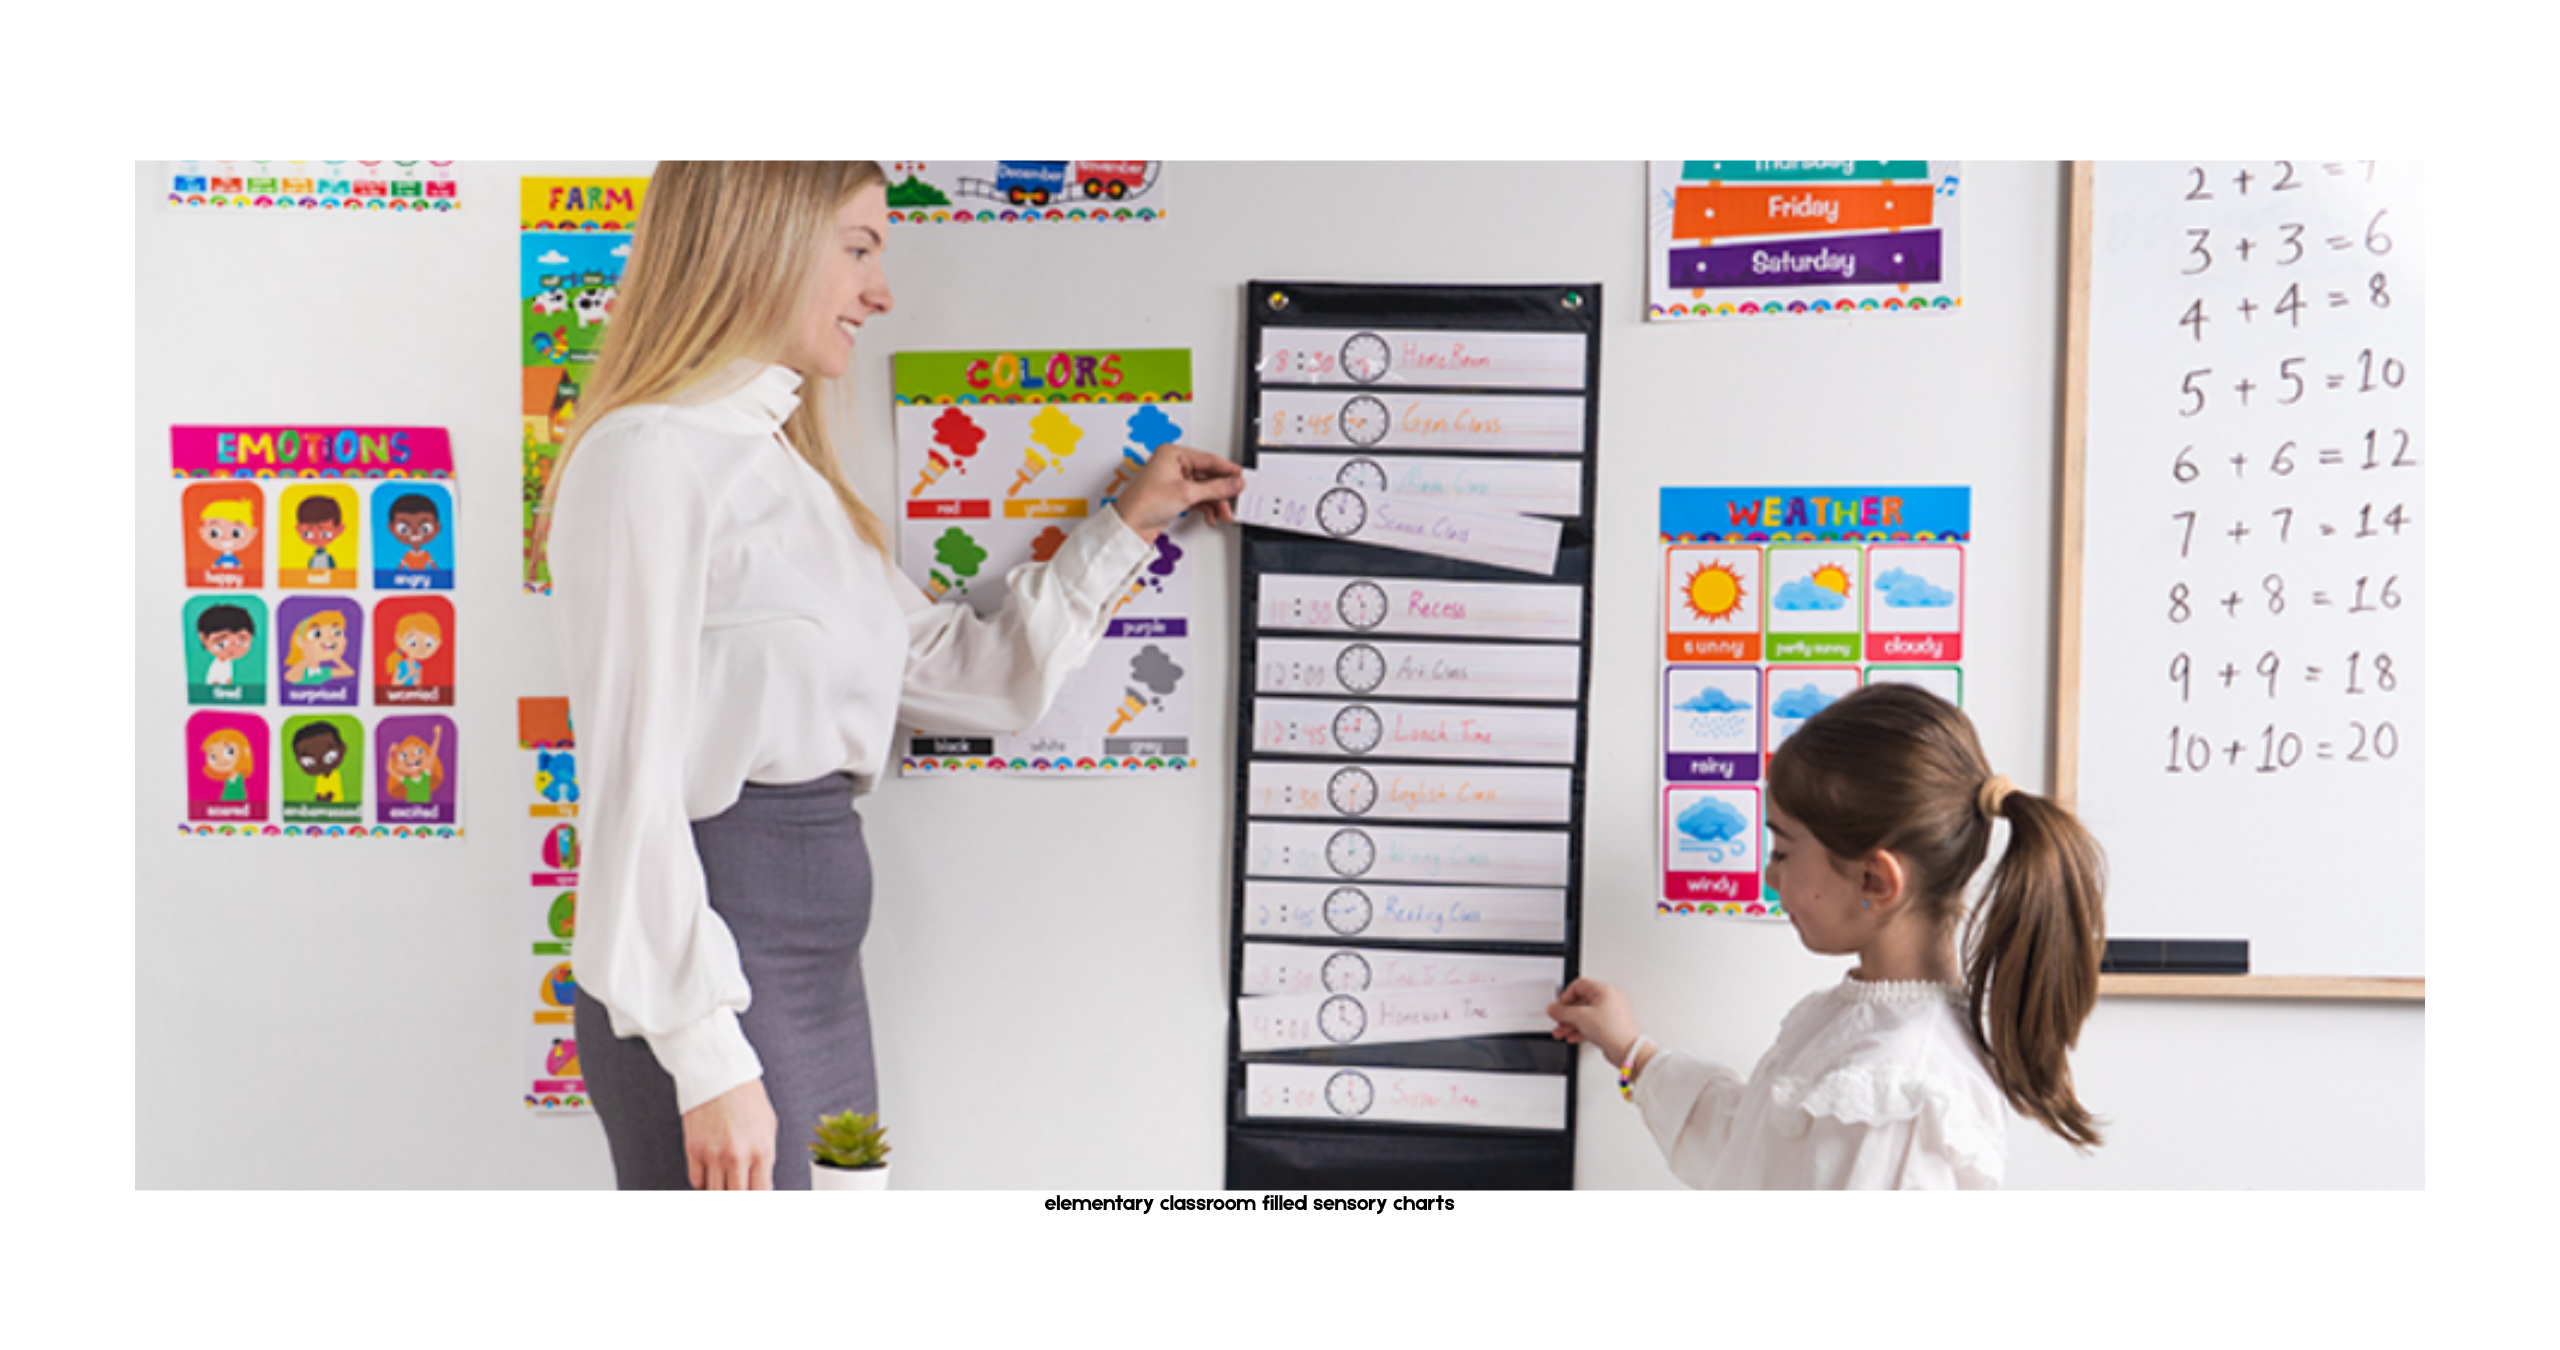
- Design for quick scanning. Large fonts, clear icons (shoe for “put on shoes”), and high-contrast colors. Add extras like:
- A timing column (e.g., “after snack”).
- A tiny reward box for stickers or smiley faces.
We like making both digital and printable versions — fridge copy for home, phone/tablet copy for on-the-go.

Write Clear, Positive Checklist Items
The checklist should be easy for a child to follow in real time.- One step per line. Keep wording short: “3 deep breaths,” “put on headphones,” “2-minute wiggle break.”
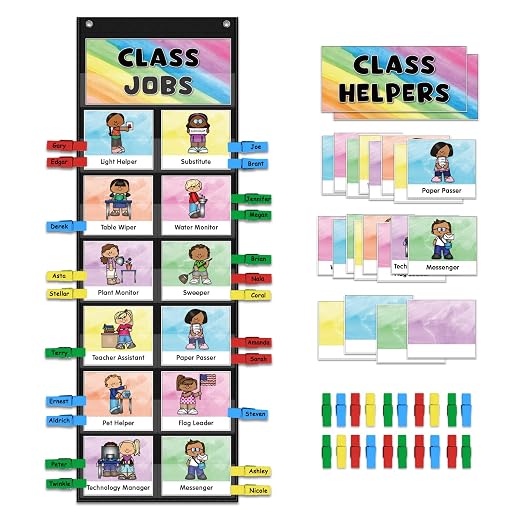
- Add visuals. Use photos, icons, or drawings for pre-readers.
- Include subtle adult notes. Example: under “quiet corner,” a muted note might say “dim lights or offer peanut butter.”
- Mark time or intensity. “__ minutes,” “__ squeezes.”
- Offer choices. Give 2–3 sensory tools to pick from, so they feel in control.
👉 Test wording with your child. If they trip over a phrase, tweak it. Minor edits often make a big difference.
Make the Checklist Truly Editable for The Family
Editable beats static — because kids grow, needs shift, and routines change.- Add fields and checkboxes. Make it easy to edit one line instead of rebuilding the whole thing.
- Keep names clear. Example:
Morning_v1,SchoolDay_v2. - Share wisely. Teachers might need edit access, and babysitters might need view access.
- Create interactive kid-friendly versions.
- Drag-and-drop icons in Google Slides.
- Printable Velcro boards or laminated sheets.
- Move a sticker from “to do” to “done.”
👉 Save a master copy, then duplicate each week (e.g., Week1_May). This lets you track what worked and what didn’t over time.
Test, Tweak, and Make It Part of Everyday
This is where the real learning happens — with sticky fingers and busy mornings.- Pilot for one week. Use it consistently during the routine it’s built for.
- Watch how your child uses it. Where do they stall? What do they skip? Which icons spark action?
- Ask for feedback. One small idea from each caregiver — swap an icon, shorten a phrase, move a step earlier.
- Add simple rewards. Stickers, tally marks, smiley stamps. Kids love seeing their progress.
- Track wins. Note what helps: “visual + timer worked,” “deep breaths skipped.”
At the end of the week, update the file and roll out Morning_v2. Keep a laminated copy for quick use and a digital file for edits. We like reviewing monthly — it keeps the checklist growing with our child.
Ready to Start (and Keep Improving)
By mapping needs, choosing the correct format, writing clear steps, and making it editable, we’ve built a sensory checklist that works for the family. Start small, involve your child, and keep tweaking. The best checklist isn’t perfect on day one — it grows with your kiddo and becomes a tool you can rely on every day.